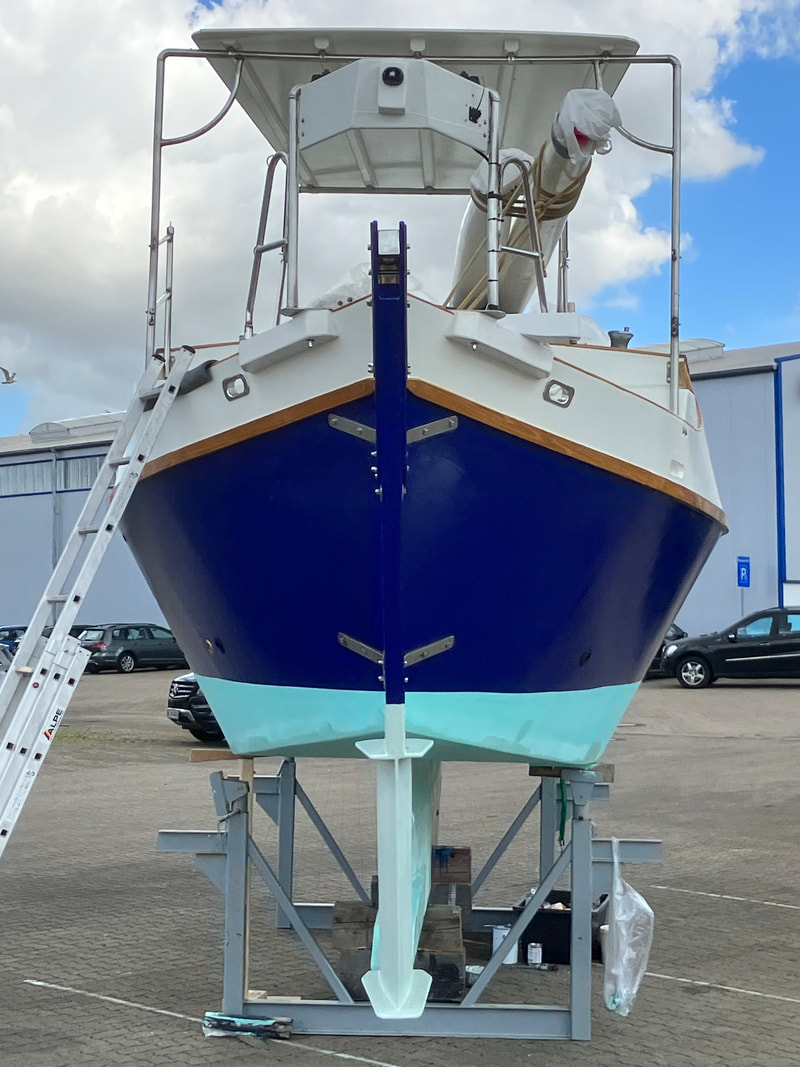
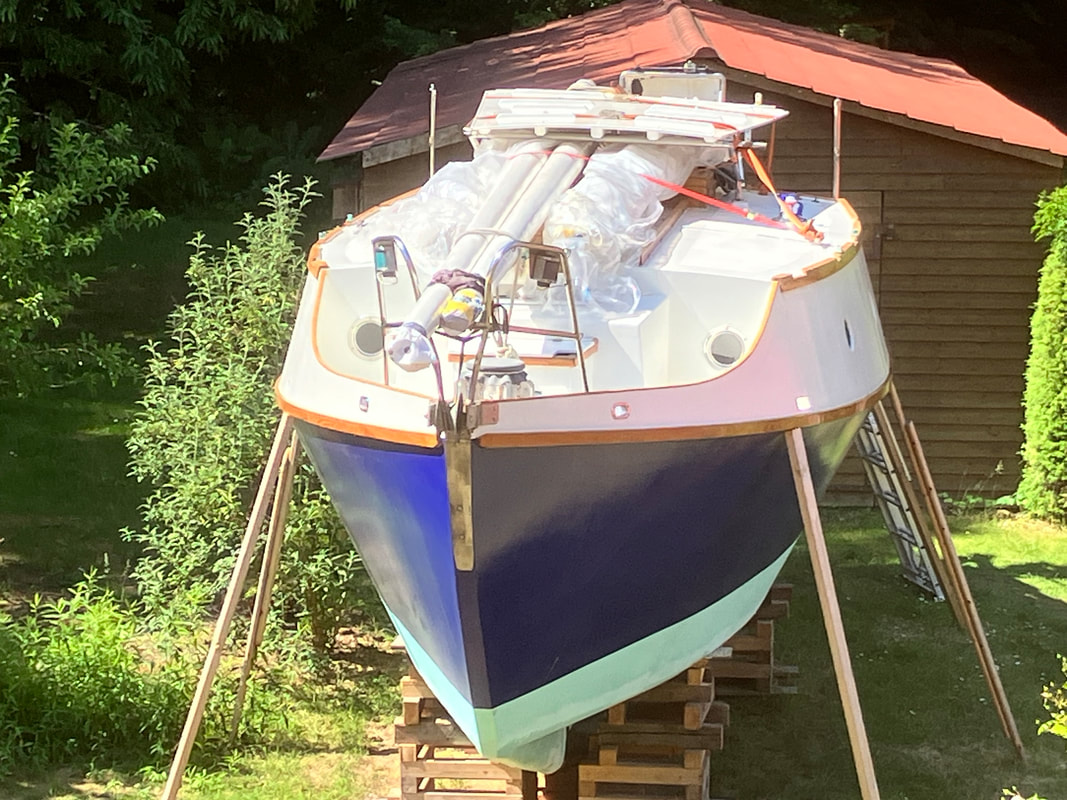
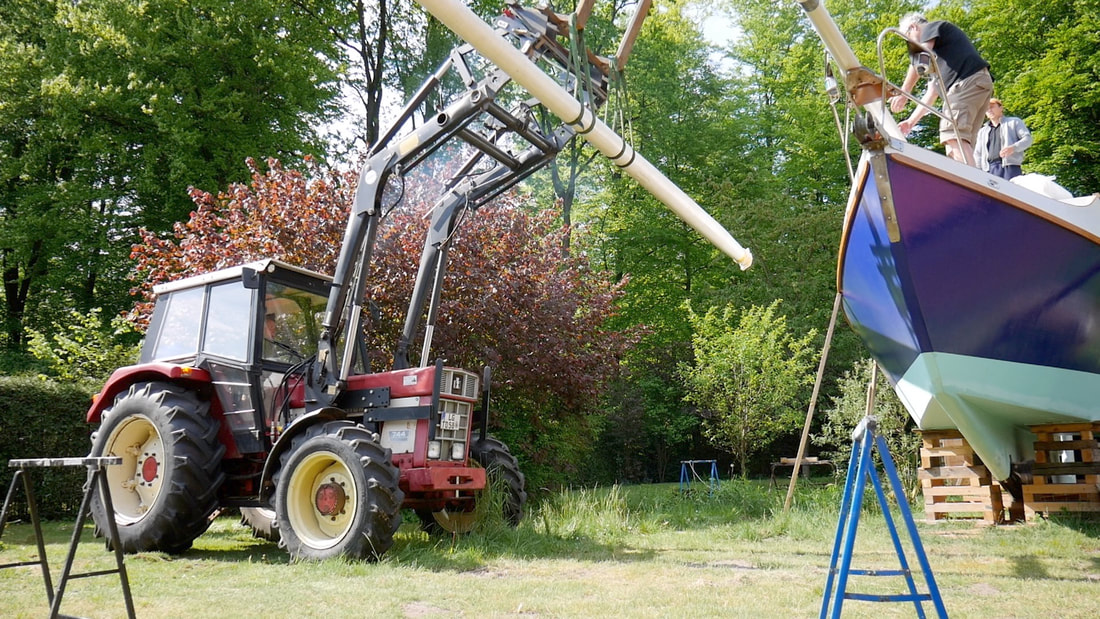
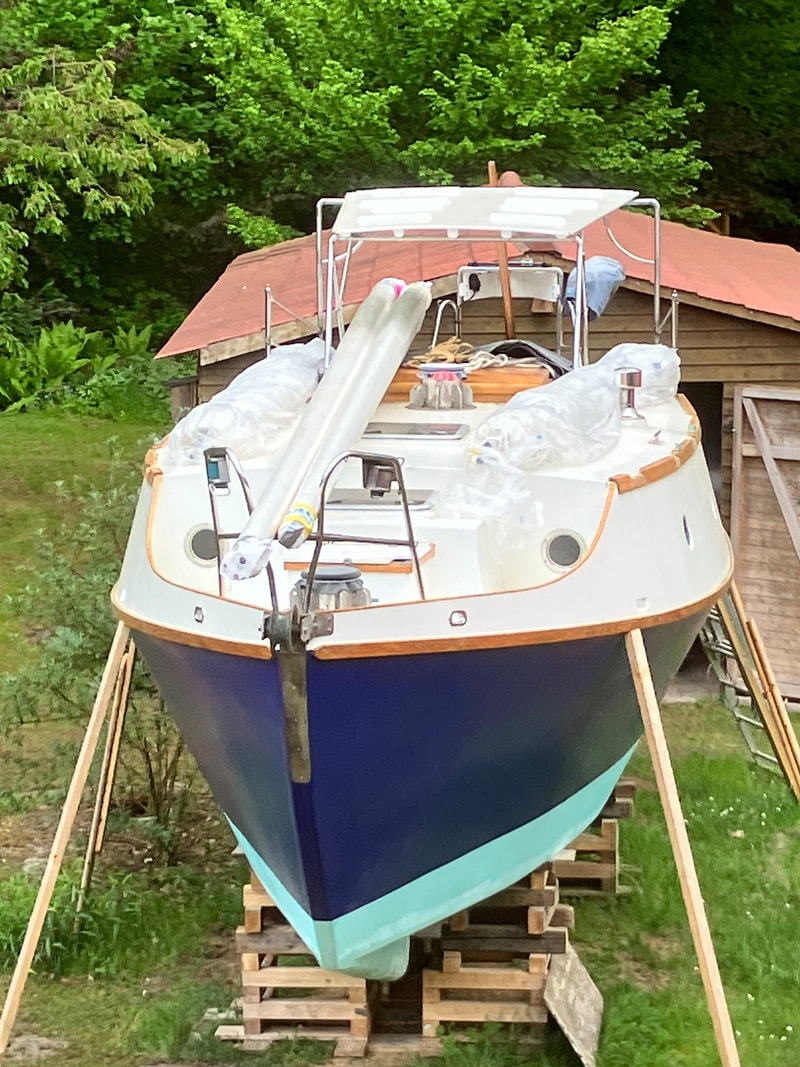
SV Tapatya
  • Blog
  • Sound and Vision
    • Music
    • Episodes 161 - 180
    • Episodes 141 to 160
    • Episodes 121 to 140
    • Episodes 101 to 120
    • Episodes 81 to 100
    • Episodes 61 to 80
    • Episodes 41 to 60
    • Episodes 21 to 40
    • Episodes 01 to 20
  • Miss Molly I
    • The Start Of It All
    • The Lions Gate to Friday Harbor
    • Puget Sound and the Straits of Juan de Fuca
    • Neah Bay to Crescent City
    • Crescent City to Half Moon Bay
    • Betweentimes
    • Back to California
    • Mexico!
  • Resources
    • Other builders
    • Videos, websites
  • The tips jar
  • Shop


Mission Statement: To build a capable, affordable cruising boat with readily-available skills, materials, equipment and facilities.
If, like me, you dream of getting out there and sailing/cruising the world's waters, this blog/site aims to show my approach to how to do just that. Capable cruising boats should not be limited to the reach of the rich and privileged. If you accept the premise that a 25 year working lifespan for your boat is plenty for you to achieve your dreams (seems reasonable!) and are not concerned about such capitalist constructs as resale value, then the capable cruising boat is within the reach of a meagre budget. Go for it!
The Miss Molly I Adventures - the story of our Pacific cruising -Click Here!!

Cabin Lights

27/12/2020

0 Comments

 
All 13 cabin lights are in a working.In the end, I replaced the 3 older lights that I had converted to LED with purpose-built LED lights. The old lights looked a bit tatty, the adapters were less than satisfactory and I preferred the idea of having all of the lights using the same bulb (or LED lighting unit). Time to move up to the forepeak now, to start working my way aft, finishing things....
0 Comments

New video series and new videos

14/12/2020

0 Comments

 
I've just started publishing a new fortnightly video series called "Behind the Scenes". The idea behind it may not be a massive surprise given the title, but it's to try to show more detail of the week-to-week goings on of this build, and perhaps to discuss thoughts and ideas relevant to the build. It's aimed at people with that extra bit of interest in this project and will be published initially exclusively on my Patreon page here

Published videos from this new series will also appear on this website a few weeks after their initial appearance on the Patreon page.

This week has seen me practicing boat yoga to contort myself to reach all those delightful out-of-the-way places that are just ideal for hiding wiring and connectors/terminal blocks. The good news is that I'm nearly finished and the boat has an almost completely functioning electrical system. It's amazing how long this takes even on such a simple electrical system as this one! However, I've used tinned wiring throughout, with soldered connectors screwed to terminal blocks providing easily accessible junctions and an easily traceable system. I'm pleased with the result - just a little bit more to do!

0 Comments

Progress on 2 fronts

27/11/2020

0 Comments

 
While I've been fabricating a fibreglass motor panel and running wiring various in Tapatya, we've also been getting down and dirty in Alanouwoly, Hazel's Freedom 28. Progress is good on all fronts, although a bit smelly sometimes :-)
0 Comments

New music :-)

23/11/2020

0 Comments

 
Hazel and I have release a new music track. It's a chill kinda vibe and is available from all of your favourite digital sources - iTunes, Amazon, Tidal, Spotify, etc
0 Comments

The engine is back in place!

20/11/2020

0 Comments

 
I've been working in the engine room recently. The first job, after getting it all fitted and painted out, was to fabricate a stainless plate to mount the new Vetus exhaust muffler/water lock. I then rewired the engine, working through it all with the wiring diagram and making a few repairs on the way. Then it was a simple job to heave the engine back into place :-) Finally, after a bit of head scratching and consultation, the decision was made to fit the motor control panel, recessed in the forward face of the cockpit well. To do this, I decided to fabricate a fibreglass dash panel, so made up a wooden plug, wrapped it in cling film and set to laying up epoxy and glass. Though I say so myself, I'm quite pleased with the results so far :-) You can see all of the above, here!!
0 Comments

New single out soon!

19/11/2020

0 Comments

 
Hazel and I have a new music track coming out on Saturday (Sat 21st Nov). It's a groovy chill sort of thing with a lazy ocean type of feel. It's called "Ocean View" and features vocals from Hazel and a bit of nylon-stringed guitar from me. It'll be out in all good digital sources - iTunes, Amazon, Spotify, Tidal, etc, etc. Check it out!!
Picture
0 Comments

Getting colder...

9/11/2020

0 Comments

 
Well, I still need to get the painting in the engine room finished and temperatures are dropping. The paint is not supposed to be applied below 10 deg C and daytime temps are either not reaching that or are only just going over that at midday, The answer; a heater, of course. However, we have to bear in mind that the fumes from the 2 component PU paint are explosive, so it all has to be approached somewhat carefully! That being said, I fully expect to finish the paint work this week.

Along the way, I've fitted a storage unit down the port side of the engine room that will house tools and the starter battery. I've bought the exhaust muffler and planned its location and have a piece of stainless just waiting to be turned into a support platform for the muffler. Elsewhere, plumbing is ongoing, cockpit drains are being fitted, battery charger and inverter are in planning, materials are arriving with scary regularity...

To further keep me out of mischief, I headed up to Hazel's boat at the weekend. She's had a few motor problems recently, which we traced to there being water in the diesel. After some investigations, I theorised that her diesel tank was leaking, so, with winter approaching, she decided to haul out for some refit work and upgrades with view to summer cruising next year. Alanouwoly is now sitting high and dry and when the haul out was completed we got straight to work attacking the diesel tank. Unfortunately, this involved cutting a large hole in the cabin sole, but, this achieved, we levered out the tank to reveal a rather disgusting and stinking mess beneath it. The tank was holed in at least 2 places, so the diagnosis proved to be correct, and Hazel is now cleaning up the sodden foam and stinking diesel mess in her bilge. She plans to fit a composting heads, so we will also be removing the holding tank that is in the engine room. Plans are not finalised, but this may prove to be a suitable location for her new diesel tank, perhaps leaving the bilge area for a battery box and upsized service battery capacity. Time will tell.....
0 Comments

It's been a while....

18/10/2020

0 Comments

 
It has indeed!!

I've released several videos since I last posted one here. I've updated the video and audio pages to include these now, but I shall only post the latest of them here now. Meanwhile, I've just returned from a short break on the North Sea coast of Denmark - beautiful country with sea views and rolling dunes.

On the boat front, there's a lot going on, much of which can't really be shown in the videos, but which still takes a considerable amount of time and effort. I probably have the opportunity to pick up a ton or so of lead at a very reasonable price - although it will involve a long drive. So the keel research has been ongoing. Simply deciding on the material for the keel is only one aspect. Once the decision has been made to go for lead (and it probably has), there are still methods of forming the keel to be investigated - cast lead in a mold - from plywood, or steel - cast lead in a steel box that will then stay as part of the keel structure - use preformed ingots in a steel box with epoxy resin to keep them in place - or the same but with concrete replacing the epoxy - the list goes on, and all have their merits.

Then, there's the question of the keel bolts - bronze, stainless, mild steel, galvanised? If bronze, what alloys are available and suitable? Through-bolts or j-bolts cast into the keel? Drill the lead casting or use plugs of some sort in the casting?... It goes on...

I'm also in contact with the sailmaker I intend to use. I hope to be taking a drive up to visit the sail loft in the next few weeks, and will be placing a firm order very soon. And, on top of all that, I had the chance to pick up a pair of galvanised steel masts, and thought long and hard about doing so. In the end, their weight and thermal coupling properties put me off and so I've also been researching methods of building wood masts (again!). There are 2 methods that interest me - one would produce a largely solid mast, while the other is a relatively simple way of making hollow masts. Clearly the hollow masts would weigh less, but I'm inclined to think I might trust the more solid mast more.... Hmmmm...

I shall finish this rather long post by embedding my latest YouTube video. It's a montage of significant scenes from the 3 or so years that this build has taken thus far. I hope you enjoy :-)

0 Comments

The washboards and some work on the front end :-)

7/9/2020

0 Comments

 
The washboards have taken what seems like an eternity to complete - partly because they were low priority and just got worked on in between other, more important stuff, but partly because I somewhat screwed up and had to think on my feet to save them, at one point.

Then, there was an area at the forward end of the bulwarks that didn't please me. Sure enough, they felt solid, but, in the event of a collision or suchlike, I felt they were vulnerable, plus, the end grain of the ply needed sealing effectively somehow. The answer was to fabricate support brackets between the bulwarks and the bow fitting, making it all rock solid and enabling me to fill and seal the forward end of the bulwark ply.

Now, the forward fairleads are fitted and the fore deck is painted, complete with non-slip panels :-)
0 Comments

Along the way....

24/8/2020

0 Comments

 
Some weeks you get major items ticked off the list and others you just get little bits here and there done, and you sit back at the end of a busy week and think, "is that it?". There are, of course, a myriad little jobs that need to be done; small battens here, a bracket there, a bit of filler, a splash of paint, running some wire; and sometimes these little jobs take as much time as a major item but certainly don't look as impressive. And, these things are very difficult to calculate in the time needed reckoning.

As things stand now, jobs on the go are;

1. I have fabricated brackets to support the forward end of the bulwarks, however, the M14 bolts that I have to fix them to the bow fitting have damaged threads. I am waiting for a delivery of an M14 die to clean the threads up. I am also missing some 8mm washers to fit the brackets to the bulwarks. I need to get to the shop! Once these things are present, I can fit the brackets and fill/seal/paint the forward end of the bulwarks.

2. The forward fairleads are in place. They need a bit of filler/primer/top coat.

3. I have the through hulls for the cockpit drains, but do not have a hole cutter/Forstner bit of the correct diameter. I have ordered one and will fit them once it arrives.

4. I am still varnishing and painting the washboards. They are still nearly finished.

5. The foredeck is partly painted. Once the bulwark brackets and fairleads are finished, I will finish painting it and do the non-slip panels.

6. I have interior lights for the main cabin. They need to be fitted. This may entail an upgrade of the wiring conduit and cabin wiring.

7. The galley and heads water pumps are waiting to complete their rebuild and be fitted. The pump handles are also ready...

8. I have purchased the steel for the engine mount to floors brackets, and also the aluminium for the hatch turtle mounting brackets...

9. And so on....

However, a little glimmer of light is perhaps beginning to show at the end of the tunnel :-)

Here's this week's video!
0 Comments

Summer goals

17/8/2020

0 Comments

 
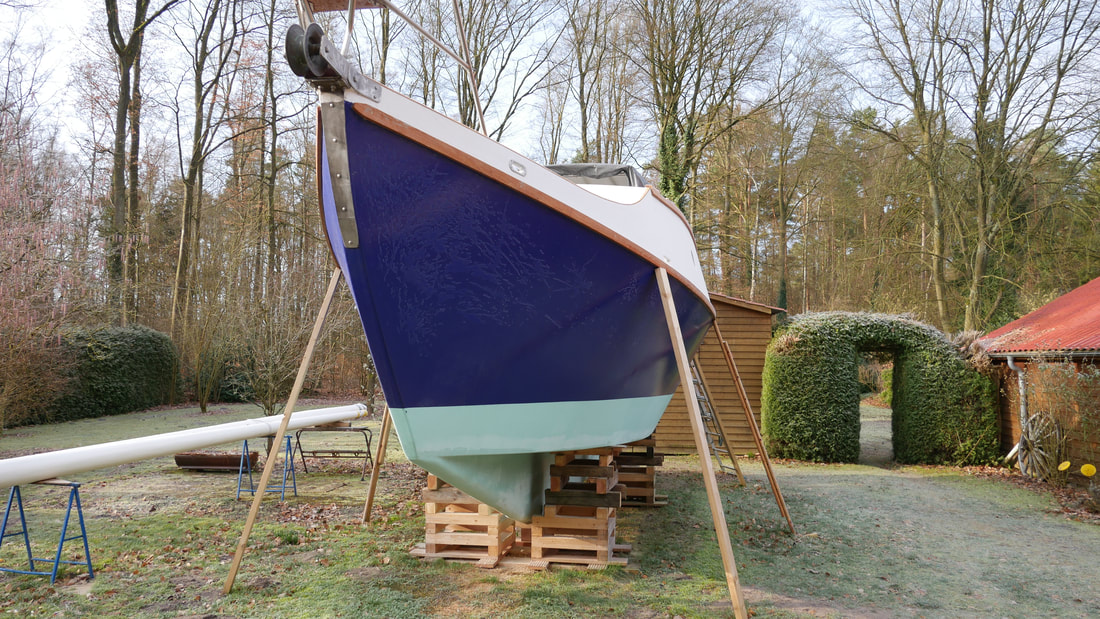
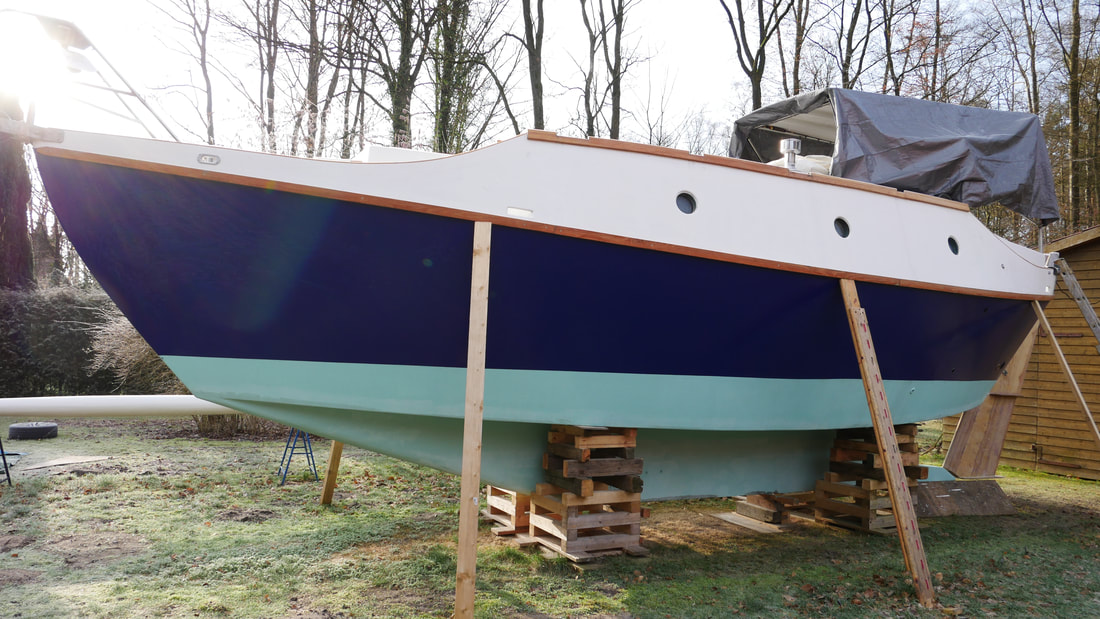
As you may well remember, the goals for this summer were to get the interior varnished and the exterior completely painted (plus whatever else was achievable along the way). Well, I'm getting there. The interior is now completely finished in terms of paint and varnish, and the exterior is almost done. The hull paint went on last weekend and there is only the fore deck left waiting to get gloss and non-slip. Pleased :-)
Picture
0 Comments

July 31st, 2020

31/7/2020

0 Comments

 
It's been a good and busy week, pushing forwards with the build and producing video and a few other bits of online content. As far as the build goes, the non-slip is now down on all but the fore deck. I've also fitted the plastic hatches on the aft deck, made a couple of alterations to the lazarette hatch and the sliding hatch, and slapped a bit of varnish about here and there (I've actually just made a start on the fore cabin varnish work. Oh, and I got the cabin sides and bulwarks glossed. Er.... that could be about it, but I might have forgotten something...

As I've said before, the goal is to use the remaining good weather to get as much paint and varnish on as possible, along with all that entails...


0 Comments

Cutting holes in the boat

22/7/2020

0 Comments

 
Don't worry! They're nowhere critical...

As part of the aft deck/cockpit area finishing, it seemed sensible to prepare to mount a couple of essential elements. The first, and most essential of these is the boat's compass. As on Miss Molly I, I've gone for a bulkhead mounted compass - I don't see a binnacle as working on these kind of designs - so, naturally, a hole was needed in the main station 9 bulkhead, and, again as on Miss Molly I, I decided to put that on the starboard side of the main companionway entrance. Starboard is named after (translated) steer board, or the side that the steering oar was placed over, and so, it seemed to me that the steersperson would want the compass also to be on the steering side... Well, maybe...

The other essential element is, admittedly, not so very essential :-) But, in the name of possibly improving our ability to know where the blazes we are, I decided to go modern and fit a chart plotter. I picked up a reasonably good deal on a 9" Garmin model from the good people at SVB and then spent a few days agonizing over where exactly to fit the thing. Option 1 - at the nav table inside the boat with a repeater of some sort in the cockpit... Option 2 - in the cockpit itself with the possibility of having a repeater inside the boat. In the end, I plumbed for the cockpit, being finally swayed by the fact that I also intend to fit a depth sounder which would also display its findings on the screen of the plotter, and I'd like to be able to see that from the steering position. The plotter itself has wifi capability, and so, could send its data to an iPad or somesuch that could be flexible in its location..... So... I cut another hole on the port side of the main entrance hatch ready for that...

Since then, paint has been spread over the main deck and the aft deck - lovely glossy white paint of the 2 component PU variety, leaving panels to soon be coated in satin finish non-slip. Looking good, if holey :-)

Here's a catch up on the vids of late..


0 Comments

Up to date

25/6/2020

0 Comments

 
Well, I obviously lose track of how quickly the time goes.. It's been all too long since I last updated this site. Betweentimes, concentration has been on getting epoxy barrier primer on the entire exterior of the boat and, as I write this, this is nearing completion.

Along the way, I've also managed to do a bit of sailing with Hazel and Kerry and we've filmed a video on marine diesel engine basics. Here's what's been missing... :-)


0 Comments

More paint and a windlass

3/6/2020

0 Comments

 
The deck painting is progressing well - the main deck is finished in terms of the epoxy sealer/primer and the fore deck has 3 coats on it at the time of writing. The fore deck involved a bit of prep work in that the anchor chain box needed to be in position before the paint could go on, but that's done now and looking nice and solid.

In a moment of inspiration, I bought a very nice Muir manual windlass that I intend to mount horizontally on the fore mast - very much in keeping with the design of this boat. It arrived recently and is a truly beautiful piece of kit. I'm very much looking forward to getting that fitted.

0 Comments

First exterior paint :-)

18/5/2020

0 Comments

 
We're well into May now and, as planned, it's time to start work on the exterior of the boat. Temperatures are now ideal for paintwork... However, before anything can be painted, there's obviously a whole load of prep work to be done - a fair bit of which is a rather dusty experience :-(

I started on the bulwarks and cabin sides; sanding, filling, sanding, and then getting 6 coats of epoxy primer/sealer on it. I've now progressed to the main, raised deck area and am prepping that. There are one or two other little bits to do before the main deck can be painted, but we're getting there - the toe rail and main hatch framing have now been treated with an epoxy sealing fillet around the joint where they meet the deck, and I've made a small adjustment to the toe rail to correct an error of measurement/thinking from earlier. Next will be a bit of filler and another sand up, dedust and finally I can start getting some paint on....
0 Comments

Keeping at it....

8/5/2020

0 Comments

 
The last couple of weeks have seen a fair bit of progress. We've fitted a couple of Trudesign through hulls that will act as the drain outlets for the sinks in the heads and the galley. In fact, the goal is to have few through hulls, particularly below the water line, and these could be the only 2 that even need to be close to it. The salt water intake will be through the sail drive leg (I'm aware there is a major through hull opening there!!) and, other than that, the only other requirements will be exhaust out, cockpit drains and bilge pump outlet, all of which can be significantly above the water line.

Besides those, quite a few smaller jobs have been completed or are in progress. The tiling in the stove area is complete with grout and silicon; the fiddles are all in place; some trim has been fitted on the countertops; the interior paint work is basically complete; the nav table has been sanded and has a couple of coats of Epifanes; the Dickinson stove rebuild is progressing; I've located the seals I need to finish the service of the water pumps; the composting loo has been fitted, with the heads flooring being completely sealed; I've built and varnished a frame for the heads mirror; the galley cupboard doors have been painted and one of them has been fitted....

These are exciting times as she's really starting to take shape. And, to add to the excitement, the epoxy sealing primer/undercoat has arrived for the cabin sides and decks, so I'll soon be strating to sand and prep those... :-)


0 Comments

Lights, the stove, tiles, curvy bits......

27/4/2020

0 Comments

 
It's been a couple of weeks since I posted here. In that time, a lot has happened. Work is going on all over the place, I guess with the main thrust being in the galley and heads area. I've tiled and now grouted the stove area - underneath, beside and behind it. The flooring (pvc) is fitted in the heads, along with the inspection cover to give access to the bilge area in one section. I've laminated, sanded, filled, sanded and painted a curved piece that completes the heads walling. Some interior lights have been fitted and various smaller sections of the interior have been painted. I've dismantled and cleaned up the stove and am now awaiting some materials to get it back together and fitted.

Now, with the approach of May and (hopefully) decent temperatures, thoughts are turning towards the exterior - finishing off various smaller pieces and getting it painted. I've just measured up to calculate the paint requirements and will be placing an order very soon :-)

Here are the vids from the last couple of weeks;

0 Comments

Worktops

10/4/2020

0 Comments

 
This week's episode is of an even more instructional nature than usual - I concentrate only on the fitting of the Formica laminate to the galley and heads worktops. The video shows how I went about this task, and indeed, shows that it can be done with some fairly basic tools and equipment. Obviously, if you are doing this kind of work for a living, or even if it's something you do regularly for whatever reason, you will have a more efficient method, but my way works, and, since I only fit Formica roughly once every 20 years, it'll do just fine for me!

Elsewhere in the build, things are coming along nicely. The galley cubby hole is trimmed up and painted out. All internal bulkheads and visible hull parts are now glossed and finished; I've painted out below the sinks with bilge paint - both in the galley and in the heads; I've wired up the nav table light and installed the wiring for the light in the heads; the fiddles in the heads are fitted and nearly complete in the galley; various parts are on order and I eagerly await their arrival.....

Here's this week's vid. Enjoy!!
0 Comments

Interior work

5/4/2020

0 Comments

 
Well, strange times indeed, but it seems we've just got to hope and get on with it. As far as the boat build goes, materials need some careful organising, but on the plus, I don't have to commute to work, so that time is saved and can be put into the project.

This week has again been about continuing work on the interior - painting, cabinets in the heads, etc. And, for a bit of variety, I decided to make a mounting board for the ships clock, barometer and nav table light, using a piece of scrap cherry wood I've had kicking about for a goodly while...
0 Comments

Painting, charging and singing :-)

27/3/2020

0 Comments

 
This week has been mainly about getting some paint on in the heads, galley, main cabin and quarterberth. 2 coats of undercoat and 1 of gloss - frankly it gets a bit tedious after a while, but it's gotta be done, so there's only one thing to do - keep at it!

I've written earlier about my investigations into charging Bosch 12v cordless tool batteries from the boat's batteries, and these investigations have now been brought to a successful conclusion with the release of this week's video :-)

Finally, the big news that Hazel has released an EP of her self-penned songs. 5 songs in total on the EP entitled 'Fallen Too Far'; artist name, Hazel Brown. It's available on iTunes, Amazon, Spotify and all good digital sources!!!
0 Comments

Jack of all trades

20/3/2020

0 Comments

 
Building a boat involves quite a range of different skills, and this indeed is one of the fun challenges of such a project - trying to do as much as possible of it yourself. Of course, there's a line to be drawn somewhere about how many parts you make yourself and what you buy in ready-made, and we all draw that line based on our own preferences...

Welding is something I've done on and off for several decades, unfortunately more off than on though. I often feel like I'm starting again when I pull out my very basic welding kit. Anyhow, in this week's video, both Kerry and I do a bit more stick (arc) welding practice, and, largely speaking, it goes well. There's that idea that you need to put in 10,000 hours to something to get really good at it, and there can be no doubt that we've put in significantly less than that, but we're keeping at it....
0 Comments

Off the grid

16/3/2020

0 Comments

 
Perhaps obviously, one of the goals of sail boat life is to get away from it all and live 'off the grid'. Our experience in Miss Molly I showed us clearly just how possible this is, and gave us plenty of opportunity to practice the sort of simple living that makes such a lifestyle entirely possible on a small sail boat. Back in those days, cordless power tools didn't really exist, or at least were not particularly good. When it came to working on the boat whilst at anchor, everything was done with hand tools - which, most of the time, is perfectly possible, comfortable, enjoyable... However, on the odd occasion, something needs doing that needs significant endurance or perseverence if done with hand tools; on these occasions, it would be nice to be able to reach too a power tool. 

Nowadays, cordless power tools are a significantly improved, and I am particularly fond of the Bosch 12 volt professional range (their value for money impresses, IMHO). What is needed, however is a method of charging the batteries of these tools whilst at sea. An inverter is the obvious answer, but that involves expense and inefficiencies. Surely, it would be better to be able to charge the 12v batteries from the 12v boat battery system.

Up until recently, the chargers that Bosch supplied were an integrated transformer/charger unit that you plug into the mains. However, this year, they brought out a new and significantly cheaper charger that has a seperate transformer and charger. The transformer is a 220 v a.c. in and 12v d.c. out model feeeding into a very simple charger unit. The obvious thought is to cut off the transformer, fit a plug and plug it into the boat's 12v d.c.system. This I did, and this weeks video, along with boat building progress in the heads, looks at the initial results of that.
0 Comments

2 1/2 years into the build

9/3/2020

0 Comments

 
It is indeed that long already - doesn't time fly?

But, progress is good; she's coming along pretty much to plan. The goal of getting significant amounts of interior work done this winter has been successful - I'm currently working on the heads -- worktops are in, the new sink has arrived and will be loosely fitted tonight ( all being well!), the floor is sealed in position, the door frame is in....

And at the moment, I think I'll just continue - at least until Easter or so - and get as much of the interior done as possible.

Here's a look around the boat after 2 1/2 years of building :-)
0 Comments

LEDs, a vacuum and a bit of a moan!!

28/2/2020

0 Comments

 
I've fitted some stowage midships on the starboard side and am very pleased with the outcome - it tidies up the under-the-nav-table area, makes it useful and continues the monocoque-furniture/hull-reinforcement theme. I also decided, on a bit of a whim, while I was in the hardware store, to invest in a new shop vac (the old one has been driving me nuts for a long time!!). Unfortunately, on unpacking the new appliance, it turned out to be damaged, so back it went. Some new LED lights arrived for the fore cabin and I fitted them after straightening up the bulb in one of them.

Here's the latest video of all of that, along with me airing some toughts on various items...
0 Comments
<<Previous
    Picture
    Picture
    Subscribe on YouTube
    All videos, along with the writings, are 100% free of charge to everyone. If you'd like to support this project, please click one of the buttons above to leave a tip, become a patron or subscribe on YouTube. Thank you!!

    Archives

    December 2020
    November 2020
    October 2020
    September 2020
    August 2020
    July 2020
    June 2020
    May 2020
    April 2020
    March 2020
    February 2020
    January 2020
    December 2019
    November 2019
    October 2019
    September 2019
    July 2019
    June 2019
    May 2019
    April 2019
    March 2019
    February 2019
    January 2019
    December 2018
    November 2018
    October 2018
    September 2018
    August 2018
    July 2018
    June 2018
    May 2018
    April 2018
    March 2018
    February 2018
    January 2018
    December 2017
    November 2017
    October 2017
    September 2017
    August 2017
    July 2017
    June 2017
    May 2017
    April 2017

    Categories

    All

    RSS Feed

Powered by Create your own unique website with customizable templates.